We awake each morning to a heavy blanket of fog engulfing our house, while the sun desperately attempts to peek through to see if we are getting up. Most of our chickens have gone on vacation for the winter months, but we are still getting just enough eggs for our family which is such a blessing and one I'm ever so grateful for.

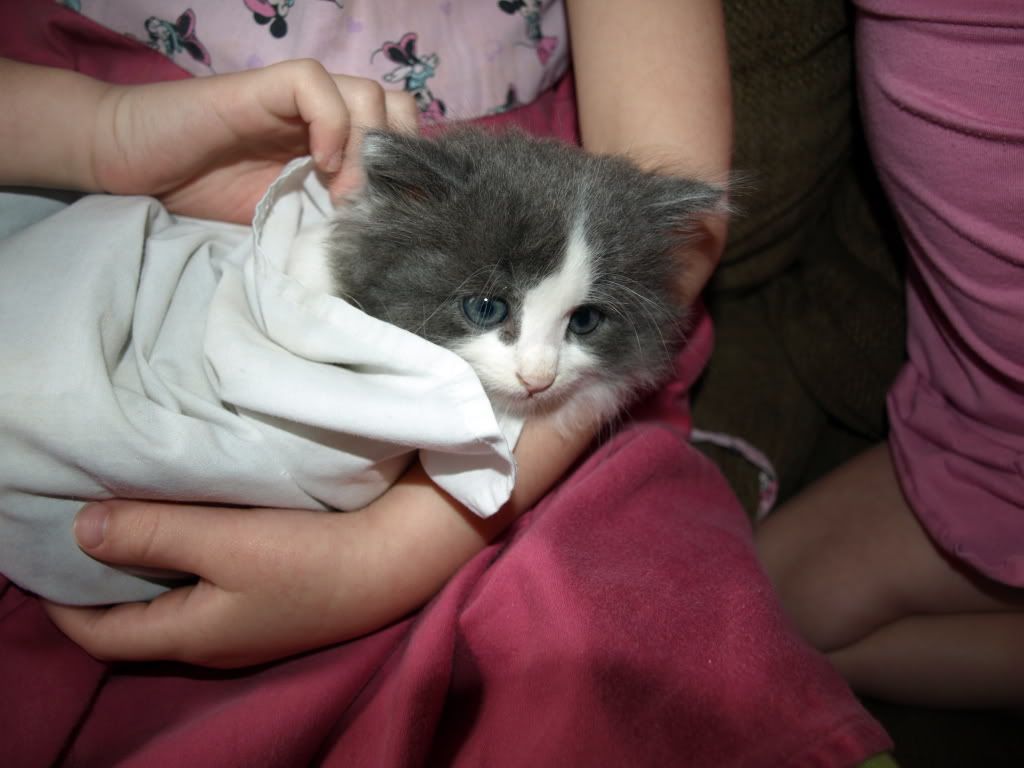
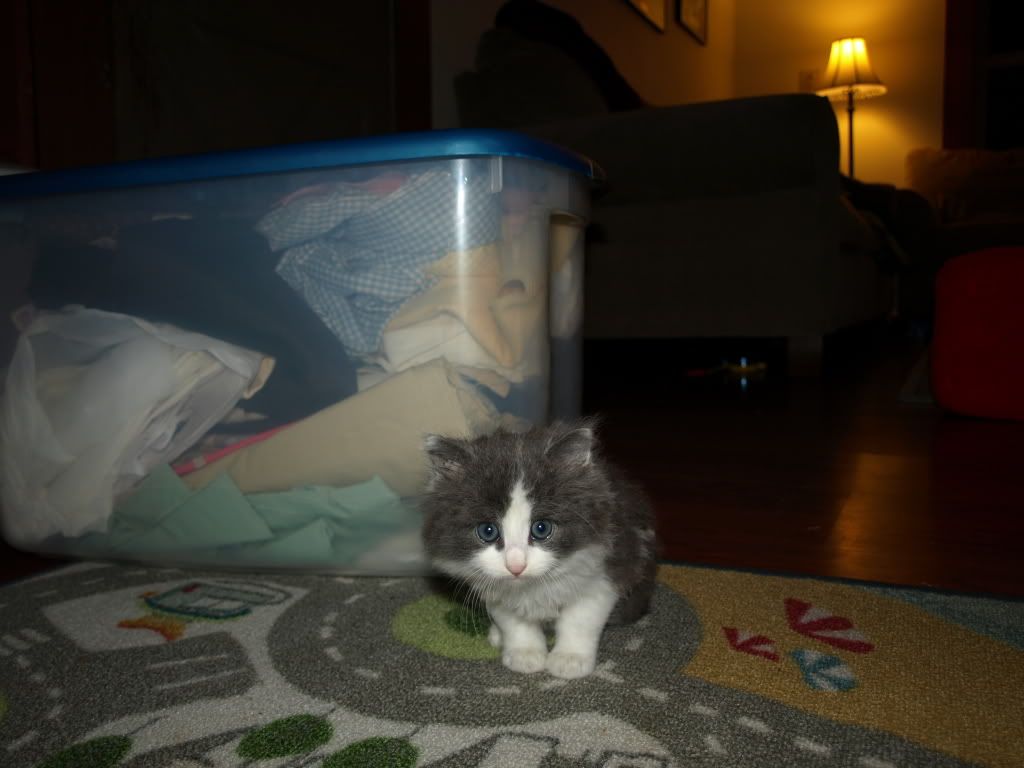
Come see our new addition to the family; his name is Charlie. Hannah received a sweet dusty, grey and white 6 week old kitten for her efforts in helping out around the house. She helped momma out, so momma put in a good word for her. Abby loves to tote him around all over the house. Charlie has been very generous to her by not scratching her with all of the "excess" loving she's been giving.

I attempted to make my first batch of soap last night. The recipe comes from the West Ladies at Homestead Blessings. What a sweet group of godly women sharing their talents with the world. Their Homestead Blessing DVD's are great to watch while nestled warm under a comfy quilt and enjoying a cup of hot tea.
 I carefully ordered my supplies and laid them out all measured as the ladies recommended. Please be sure to have vinegar close by if you happen to splash lye on your skin - the vinegar neutralizes the lye. Their recipe calls for 4 cups warm water mixed with 12 oz. lye. Over a very low temp burner, add in the rest of the ingredients: 48 oz. shortening, 12 oz. coconut oil, 16 oz. olive oil. Continue to stir these ingredients until well blended and trace begins. The term "trace" simply means that when you pull your spatula or wooden spoon out of the mixture, a pattern "traces" across the top. This went very smoothly for Anne, Hannah and I, and it seemed to trace rather quickly.
Before pouring into the mold, add in any additives. We added 2 tsp. cinnamon and 1 tsp of cinnamon essential oil. Rosemary, eucalyptus or lavender are also very nice. If you want the soap to be an exfoliant, add in 1 1/2 c finely ground oats.
I'd love to say that our bars came out beautifully, but I'm still waiting for them to harden to be able to remove them from the mold. The top had hardened, but underneath is still fairly liquid in consistency. I'm not sure if we didn't let it saponify long enough, or if it wasn't warm enough in our house? It was a fun evening with the girls and it was such a joy to learn something new and to once again create something with my hands.

2 comments:
What great fun! Having made soap ~ may I encourage you to watch for ooze and/or goop that may be in the soap. I am SURE you know that soap that did not set properly is dangerous and should be disposed of. I am SURE you know this, but safety is worth re-itterating.
Blessings, Carrie
how did it turn out??
Post a Comment